
Image compressor · Updated September 2026
Compress a photo — smaller file, same look
Shrink a JPG, PNG or WebP to a fraction of its size. Drag the quality slider and watch the real file size change, compare before and after at 100 %, or just say “keep it under 500 KB”. Nothing is uploaded — your browser does the compressing.
One click
Common ways to shrink a photo
Pick the one that matches your situation; the resizer opens with it set.
Each link opens the resizer with these settings already filled in — you only choose the photo and press Download. Nothing is uploaded; the work happens in your browser.
Step by step
How to compress an image without losing quality
-
01
Open the photo
Drag it in or click Choose a photo. The original size and file size are shown at the top of the picture.
-
02
Reduce the pixels if you can
A 4000-pixel phone photo is far bigger than any screen. Type a width of 1920 (or 1280 for the web, 800 for e-mail) — this alone often cuts the file by 80–90 % with no visible loss.
-
03
Set the quality — or a limit
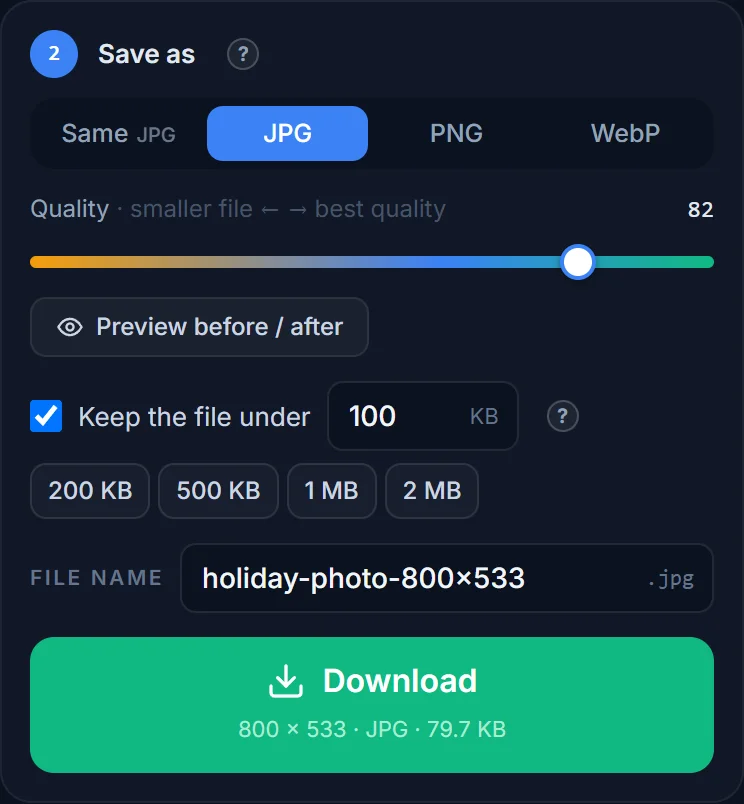
Under Save as choose JPG or WebP. Drag Quality: 75–85 is the sweet spot. Click Preview before / after to compare at 100 % zoom. Or tick Keep the file under and type a KB number.
-
04
Download
The button shows the exact size of the file you will get. Your original file is untouched.
Reference
What each setting saves
Typical results for a 12-megapixel phone photo (4032 × 3024 px, about 4 MB as JPG). Your numbers will differ; the proportions will not.
| Change | Result | Visible difference? |
|---|---|---|
| Re-save as JPG, quality 82 | ≈ 2.2 MB | None |
| Width 1920 px, quality 82 | ≈ 480 KB | None on any screen |
| Width 1280 px, quality 82 | ≈ 240 KB | None on a phone or a blog |
| Width 1280 px, quality 60 | ≈ 140 KB | Slight softening in fine detail at 100 % |
| Width 1280 px, WebP quality 80 | ≈ 160 KB | None |
| Width 800 px, quality 75 | ≈ 90 KB | None at the size it is shown |
| Same pixels, PNG | ≈ 18 MB | None — but 4× bigger than the original |
JPG and WebP are “lossy”: they throw away detail the eye does not notice, and the quality slider decides how much. PNG is lossless — perfect for screenshots, logos and text, terrible for photos.
Which format
JPG, WebP or PNG?
- JPG — photos, and anything that has to be accepted everywhere: forms, e-mail, printers, old software. Quality 75–85 is the sweet spot.
- WebP — photos for the web and phones. About a third smaller than JPG at the same quality and it supports transparency. All current browsers, iOS and Android open it; a few government forms and older e-mail programs do not.
- PNG — screenshots, logos, diagrams, text, and images that need transparent areas. It never loses detail, so it has no quality slider — to make a PNG smaller, reduce its pixels or switch to WebP.
The Same button keeps whatever format the original had. A photo you received as PNG is usually a photo someone should have saved as JPG — switching it to JPG is often a 10× saving.
Judging quality
Use the before / after preview, not the number
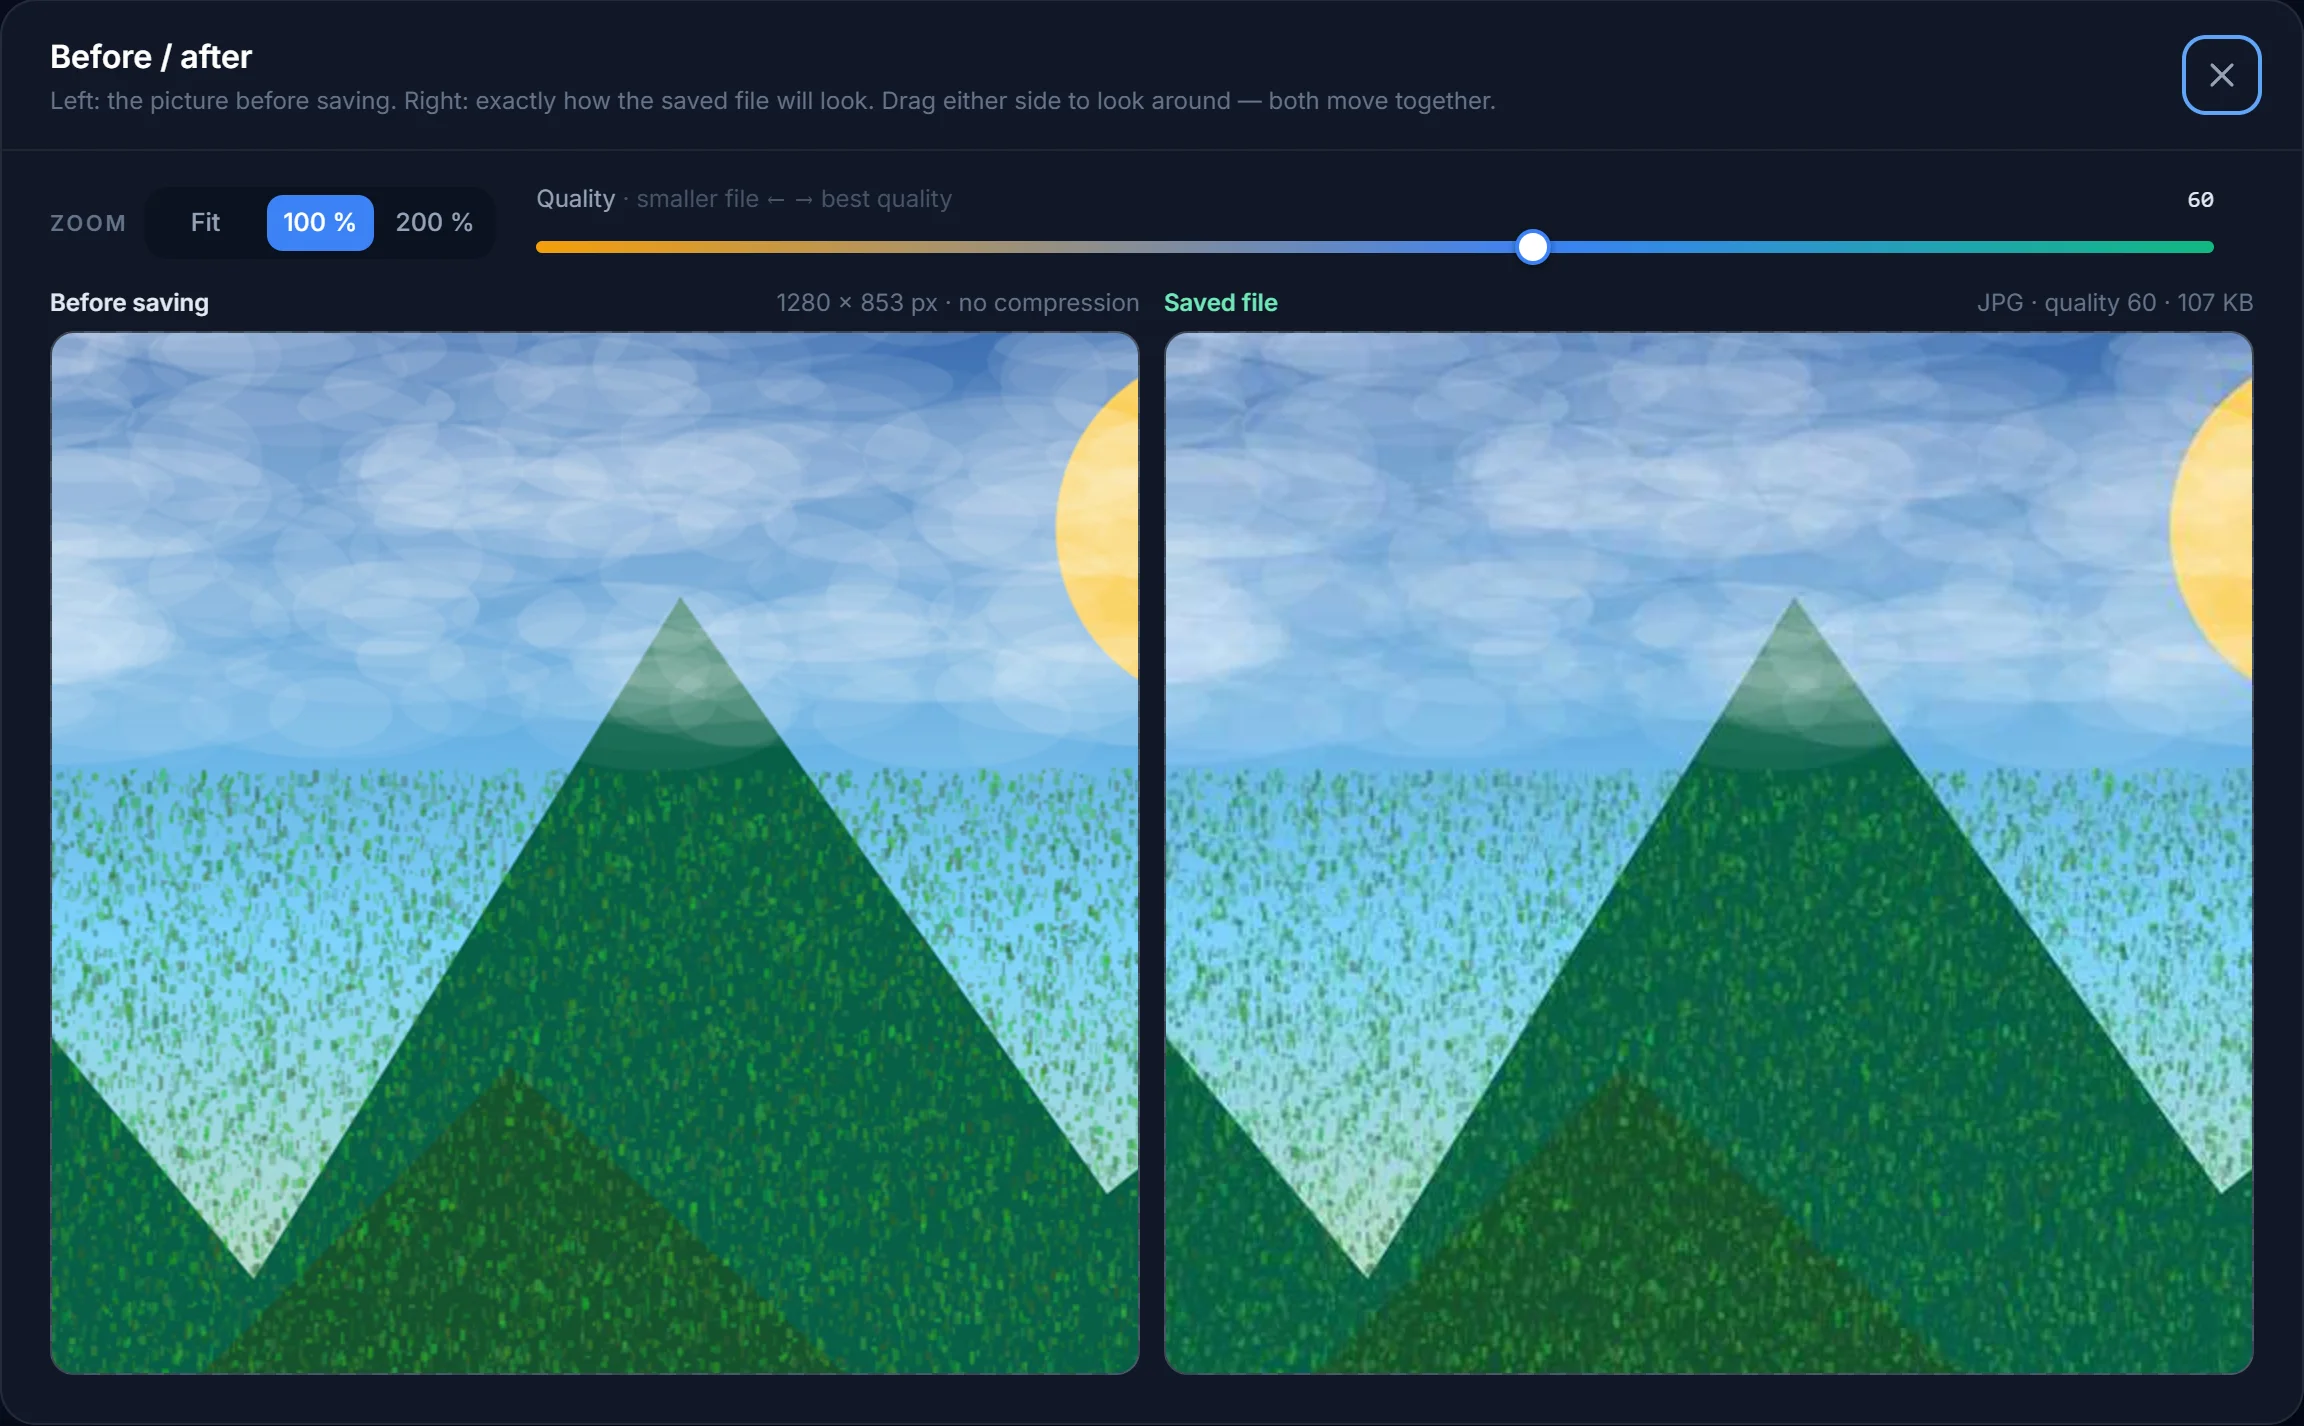
“Quality 60” means nothing on its own — a portrait against a wall still looks perfect at 60, while a photo of foliage shows blocks at 70. The Preview before / after button shows the uncompressed picture on the left and the exact file you are about to save on the right, at 100 % (one image pixel = one screen pixel), scrolled together. Drag the quality slider inside the preview and the right side re-encodes live. Stop lowering the quality when you start seeing a difference — that is the smallest file that still looks right.
Two habits that keep photos looking good: reduce pixels before reducing quality, and never compress a JPG twice — always go back to the original file.
How do I compress a JPG without losing quality?
Reduce the pixel size to what you actually need (1920 px wide covers any screen), keep the quality between 75 and 85, and check the before / after preview. Done this way a 4 MB phone photo becomes about 400 KB with no visible change.
What is the best quality setting for JPG?
80–85 for photos you care about, 70–75 for the web and e-mail, 90+ only for printing. Above 92 files grow fast without looking better; below 50 the blockiness shows.
How do I compress a PNG?
PNG has no quality setting. Either reduce its pixels, or — if it is a photo — save it as JPG or WebP. Keep PNG only for screenshots, logos, text and transparent images.
Can I compress a photo to an exact size like 100 KB?
Yes: tick Keep the file under, type 100, and the tool finds the highest quality that fits. The resize to KB guide has limits for common forms.
Does compressing change the pixel dimensions?
Only if you ask it to. The quality slider changes the file size only; the width and height stay as set. Reducing pixels is a separate (and more effective) step.
Is the photo uploaded to be compressed?
No. Resampling and JPG/WebP encoding run in your browser on your own device. The file never leaves your computer or phone.
Shrink a photo now
Real file sizes, a before / after preview, and a KB limit that just works.